How to Change an Ink or Toner Cartridge
It is a two-minute job once you know where the door is — and the one mistake that ruins new cartridges happens before the old one is even out.
Step 1: Buy the right cartridge first
Printer model numbers and cartridge numbers are not the same thing. Check the cartridge number printed on the old one, or look it up on the manufacturer site by printer model — HP, Canon, Epson, and Brother all have lookup tools. Generic compatibles work fine for most home use; stick to genuine for photo printing and warranty-sensitive machines.
Step 2: Open the access door
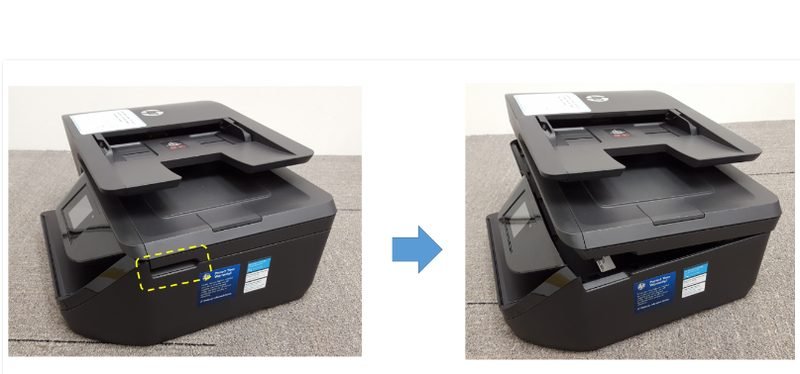
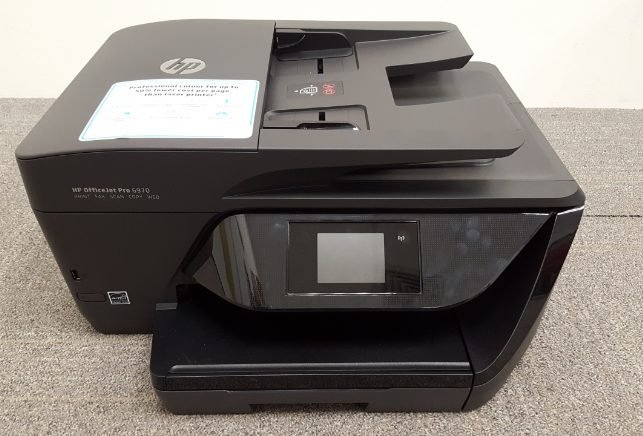
Inkjet all-in-ones: the front panel or a dedicated access door — on many HP OfficeJets the whole front face folds down. The carriage slides to the center automatically. Laser printers: press the release button on the front and the whole toner/drum unit swings or pulls out.
Step 3: Remove the old cartridge
Inkjet: press down on the cartridge until it clicks, then pull toward you. Laser: pinch the release lever and pull the toner straight out. Do not force anything — if it resists, check for a second latch.
Step 4: Prep and install the new one
The mistake that ruins new cartridges: the plastic tape and the orange clips. Every cartridge ships with a pull-tab seal — pull it straight out, slowly. For toner, rock it side to side first (distributes powder), then remove the seal. Match the shape and color to the slot; it clicks when seated.
Step 5: The first print after swapping
Close the door and let the printer run its alignment page — do not cancel it. Colors may look slightly off for the first few pages while ink flows; if banding persists after five pages, run one head cleaning (see our faded print guide).
Recycle the old one
Office stores and many cartridge makers offer free mail-back recycling. Do not toss toner in household trash if your area has e-waste rules.
Keep Reading
This is general guidance only. Summit Edge is not affiliated with, endorsed by, or an authorized support provider for any printer manufacturer.